donderdag 25 oktober 2012

Christmas Ball Decoration Ideas


Last year I made the first ones of these christmas decoration. I liked it so much that now I am putting together a DIY-package of them, so that other people can make these fun balls aswell!

The packages will be available soon at the Hubshop and my webshop, and I will take them to the Diezijn-Leuk Market in Groningen this weekend!
For more information on how to make them, see my other post!

In this post I'll show you some of the balls I made, and for people who buy the DIY-package it might give them some inspiration on how to decorate the ball!

This ball I made from a page of a bookmagazine (don't know if that's actually a word, but it's a book or a story in the shape of a magazine). I put the rope through it in an alternative way, and I put little gold and red hearts on it!

 This is a ball like they are in the packages. I put a little silver christmas tree on it, and on the bottom there's a bell!

 This one's made from a page of a brochure of a shop which is selling wintersports-gear. I put a little bell on a rope and attached it to the loop.


woensdag 17 oktober 2012

DIY - Folding giftbays

Since I have my own jewelry-label, I need to have giftbags, or something to make my jewelry look like a nice present. Since a while I fold my own giftbags out of books & magazines, instead of buying pre-made gift bags. Better for the environment, better for my wallet! And they look really nice :)

Because everyone can do this, a Do It Yourself for folding giftbags!


1. What do you need?
- adhesive tape
- scissors
- an old book or magazine


2. Take a page from the book or the magazine. I used a book in this tutorial. I used half a page per giftbag, and sometimes I make two uneven 'halfs', so that I'll get a bigger and a smaller giftbag. If you use a magazine with thin pages, start with a double layer of the paper. The pages of this book are quite thick, so I only use one layer. On my page is a young girl.


3. Take one half of the page and fold the two sides to the inside, so that they overlap at least a little. Further it doesn't matter how far each side is folded, it only makes the bag look different, just make sure the sides overlap.


4. If there's a ripped side, tuck it under the neat side (I always have a ripped side, because I don't use scissors to cut the paper). Put adhesive tape over the two folded sides, put a bit more tape than the length of the paper on both sides, and fold the adhesive tape to the inside of the paper on the two ends.


5. Now your piece of paper has two open sides. Fold one of the open sides about 1 cm to the back (the side with the tape. Do this with the open side that looks worst, because the side that you don't fold here, is going to be the top of your giftbag, and you want that side to look nice!


6. When you've folded one side of the bag push the corners to the inside, like in the picture below.


7. Then fold both long sides a bit more than halfway inside, so that they overlap a little bit.


8. Put adhesive tape on the part you just folded, this will be the bottom of your giftbag. Make sure that it sticks well, because otherwise your present can fall out of your giftbag!


9. Open up your giftbag with you hands, and look!


10. Below you see the two giftbags I made from the one page in the picture on top. One bag is the girls head (the top of the page), the other one the girls chest and arms (the bottom of the page). Because I always fold away the ripped parts of my page, I'll always get one giftbag where the picture (or text) is upside down. I don't mind that, but if you do, don't rip your paper, but cut it with a knife or with the scissors, so you can fold it the right way.


I hope you enjoyed this tutorial!
If you want to have these giftbags, but are not so much into DIY, buy them in my webshop!

dinsdag 18 september 2012

woensdag 5 september 2012

Proeft Rotterdam

Last Sunday my boyfriend & me went to a brilliant little food-fair in Rotterdam called Proeft.

We had a little walk around first, and then we chose what we wanted to have. At quite a few stalls they had tastings. I love that! :)


We first shared lamb raviolo with rosemary butter from Mangiare (can't remember the price). This was absolutely delicious! I once had dinner at Mangiare, and I would absolutely recommend this place. Delicious Italian food & very good value for money.


Then we had a pizza from Old Scuola. These two youngsters are on many markets and food festivals with their wood oven pizza's. We had the Pizza Pomodorini (€ 8). We found it a bit disappointing. It was plain and simpel, which actually can be a good thing, but in this case it wasn't. The middle of the pizza was very mushy and wet, I think because of the grease from the mozzarella. While the outsides of the pizza were very dry. And, as you can see in the photo, there were only tomatoes on one half of the pizza, so the other half was more like a Pizza Margherita! I must say though that the boys do look great, and it's a pleasure to look at them while they are preparing pizza's.


We also bought some stuff to take home. We bought a bread at Branco's stall. I can't remember what exactly was in the bread, but I know it had cheese and chorizo. It was very good, although I thought it was a little bit expensive (€ 6,95). We also bought a African Bobotie Pie from Pieman (€ 4). Very tasty aswell! And for dessert we shared a piece of dark chocolate brownie from High Tea 4 You (€ 1), which was extremely good!!

Last but not least, I want to give a huge compliment for the great pieces of fabric and flowers that were on the tables in the whole street! I think 's Zomers provided them, but I'm not sure about that. They made the festival look great and made it all fit together very well.

vrijdag 31 augustus 2012

Breda

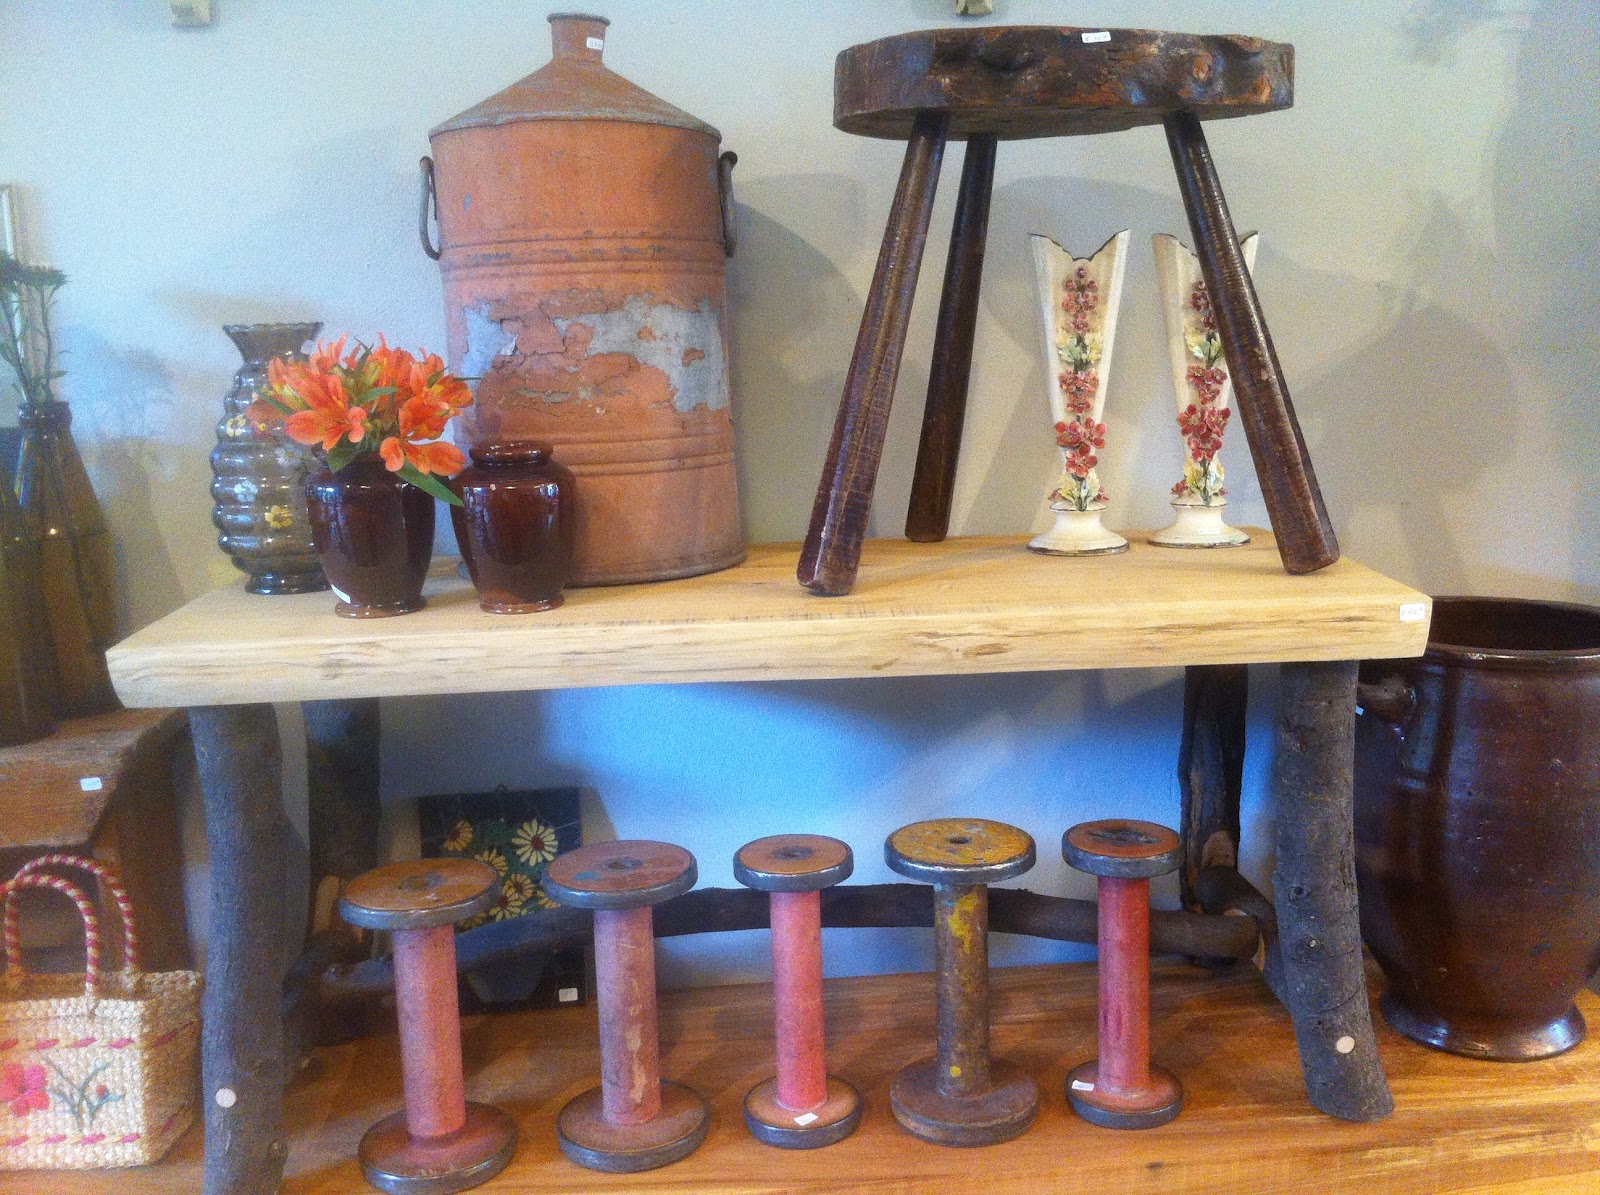
Yesterday I met my dear friend Inge in Breda for lunch. She lives near Eindhoven, while I live in Rotterdam, so Breda is sort of in the middle. On the internet I found a place for lunch called Stilleven. It was really cosy! At Stilleven you can have lunch, or a coffee with pie, but you can also buy accessories for the home. At the back they have a cute little courtyard, where we sat outside in the sun (and later in the rain...).

We both had a sandwich & some mint tea, both were nice. We also had something sweet. I had a piece of pistache-mango pie and Inge had a brownie. I didn't like the pie that much, and neither the brownie (I had a little bite of Inge's brownie). So I wouldn't advise to go for the sweet stuff. I must admit thoughtthat I'm not much of a 'sweet' person anyway, so maybe it's just me.


woensdag 29 augustus 2012

Summer Outfit


...
Top Singlet - H&M
Bottom Singlet - DEPT
Shorts - H&M
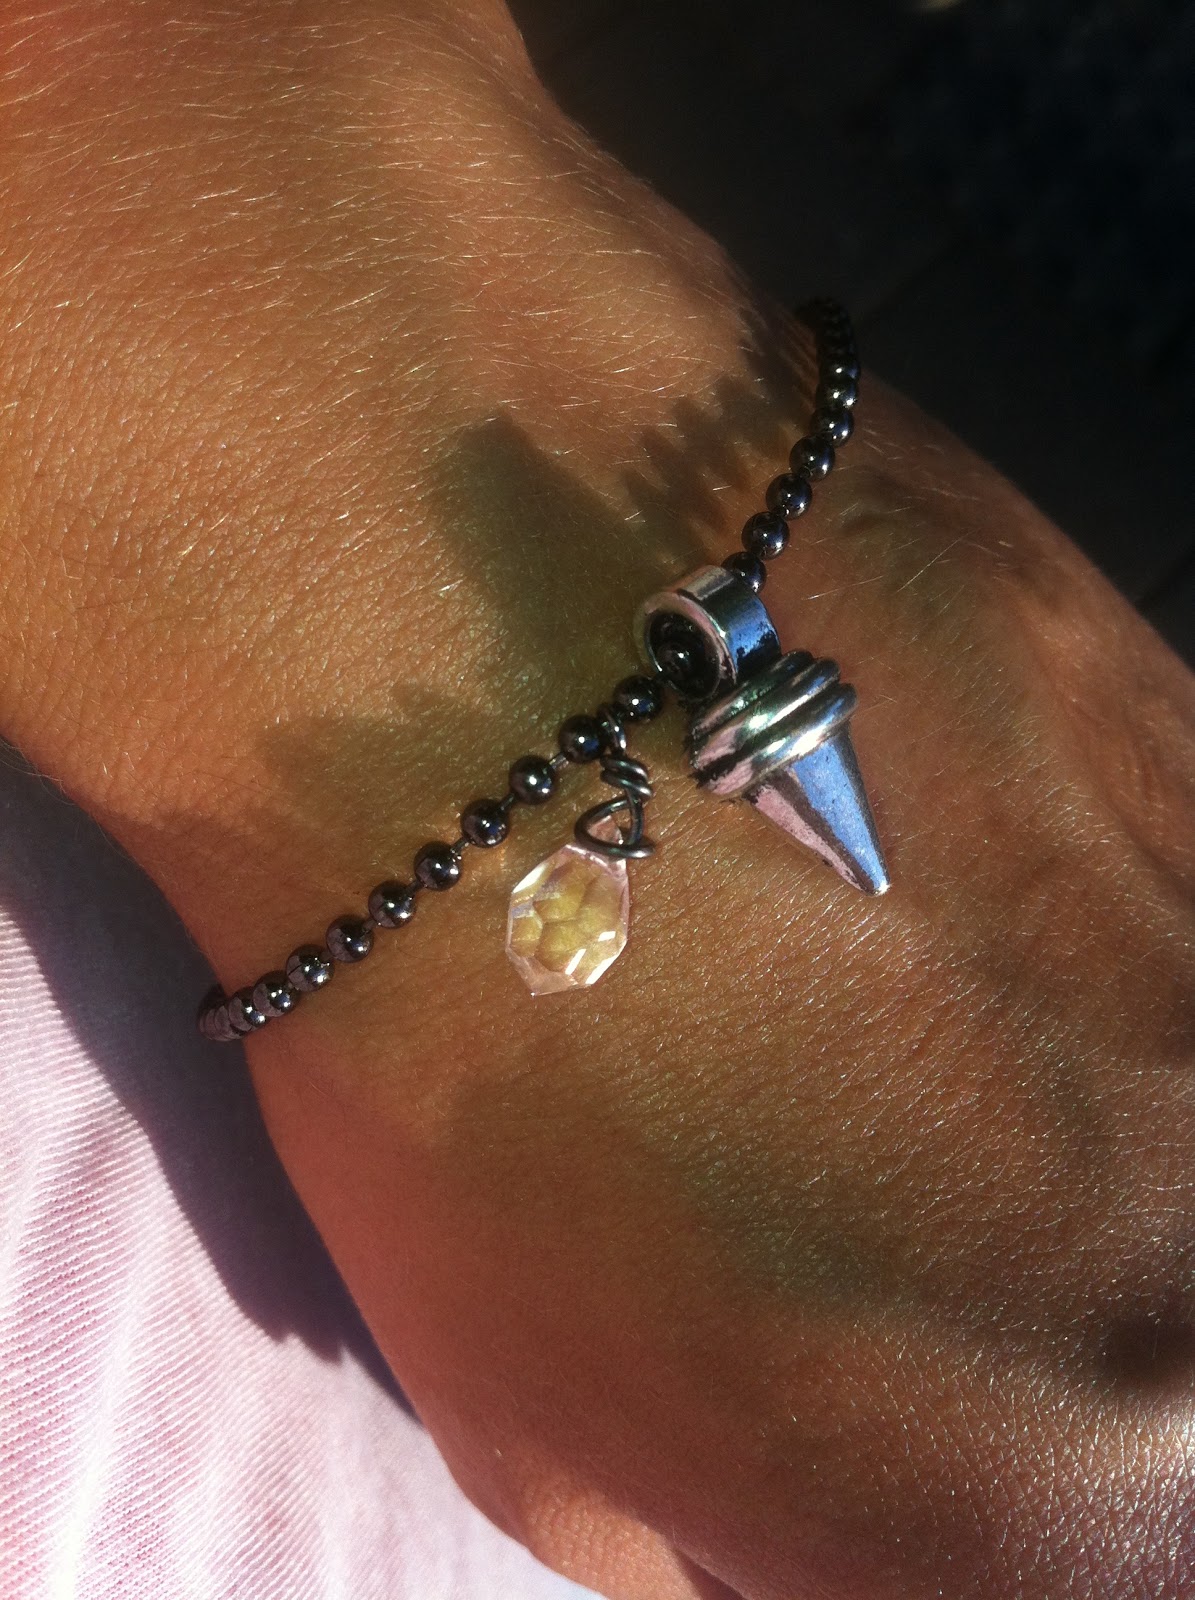
Jewelry - Quiero!
Flip-flops - Roxy
Sunglasses - Ralph Lauren
...

maandag 27 augustus 2012

Quiero! op Lowlands 2012

Last weekend (17, 18 + 19 August) I was on a big three-day festival in the Netherlands; Lowlands. I wasn't there as a normal visitor, but I was there with a market stall on the so-called Etsy Bazaar to sell Quiero! jewelry (my brand) & to put some nice neon & glitter festival make-up on the party people! I shared the stall with Nicole Sies from Studio BIG. She makes beautiful felt phonecovers, and especially for Lowlands she also made some little bags and some bracelets and necklaces.

Me & my colleague Nicole @ our stall at the Etsy Bazaar @ Lowlands! 

For more photo's of the Quiero!-stand & the Etsy Bazaar, click here.

Photo's of a few festival make-ups I did. For more photo's click here.


Nicole & I had met only a few times before Lowlands, so I found it quite exciting, but all went well. We got along very well, and also we helped out each other's customers. I am very thankful that I could do this together with Nicole!

It was very hot during Lowlands festival, especially on Saturday & Sunday (30+ degrees Celcius). Everyone was looking for some shadow. Underneath our Etsy 'tent' there was shadow and also the wind could blow through it (íf it blew), so according to a lot of visitors we were lucky to be underneath the tent (and they joined us).


Me @ Saturday

. . .
My outfit on Saturday:
Skirt - brand unknown, swapped at a clothing swap
Shirt - Hema
Sandals - Birkenstock
Jewelry - Quiero!
. . .