
Yesterday I made this very cool decoration!


I saw it on the Handimania Facebookpage, so I thought I'd give it a try. Because the Handimania one doesn't have a real good description, I hereby give a step-by-step description. It might look difficult, but it's actually not!
1. Make a square of a A4 piece paper, I use old misprints that I always keep to make my shoppinglist on.


2. Fold the square in two, for three times.


3. Cut the corner of using scissors.

If you open it, you'll cut out this:

4. Cut two round shapes from the side, almost until the end of the paper.

If you fold it open once, it looks like this:

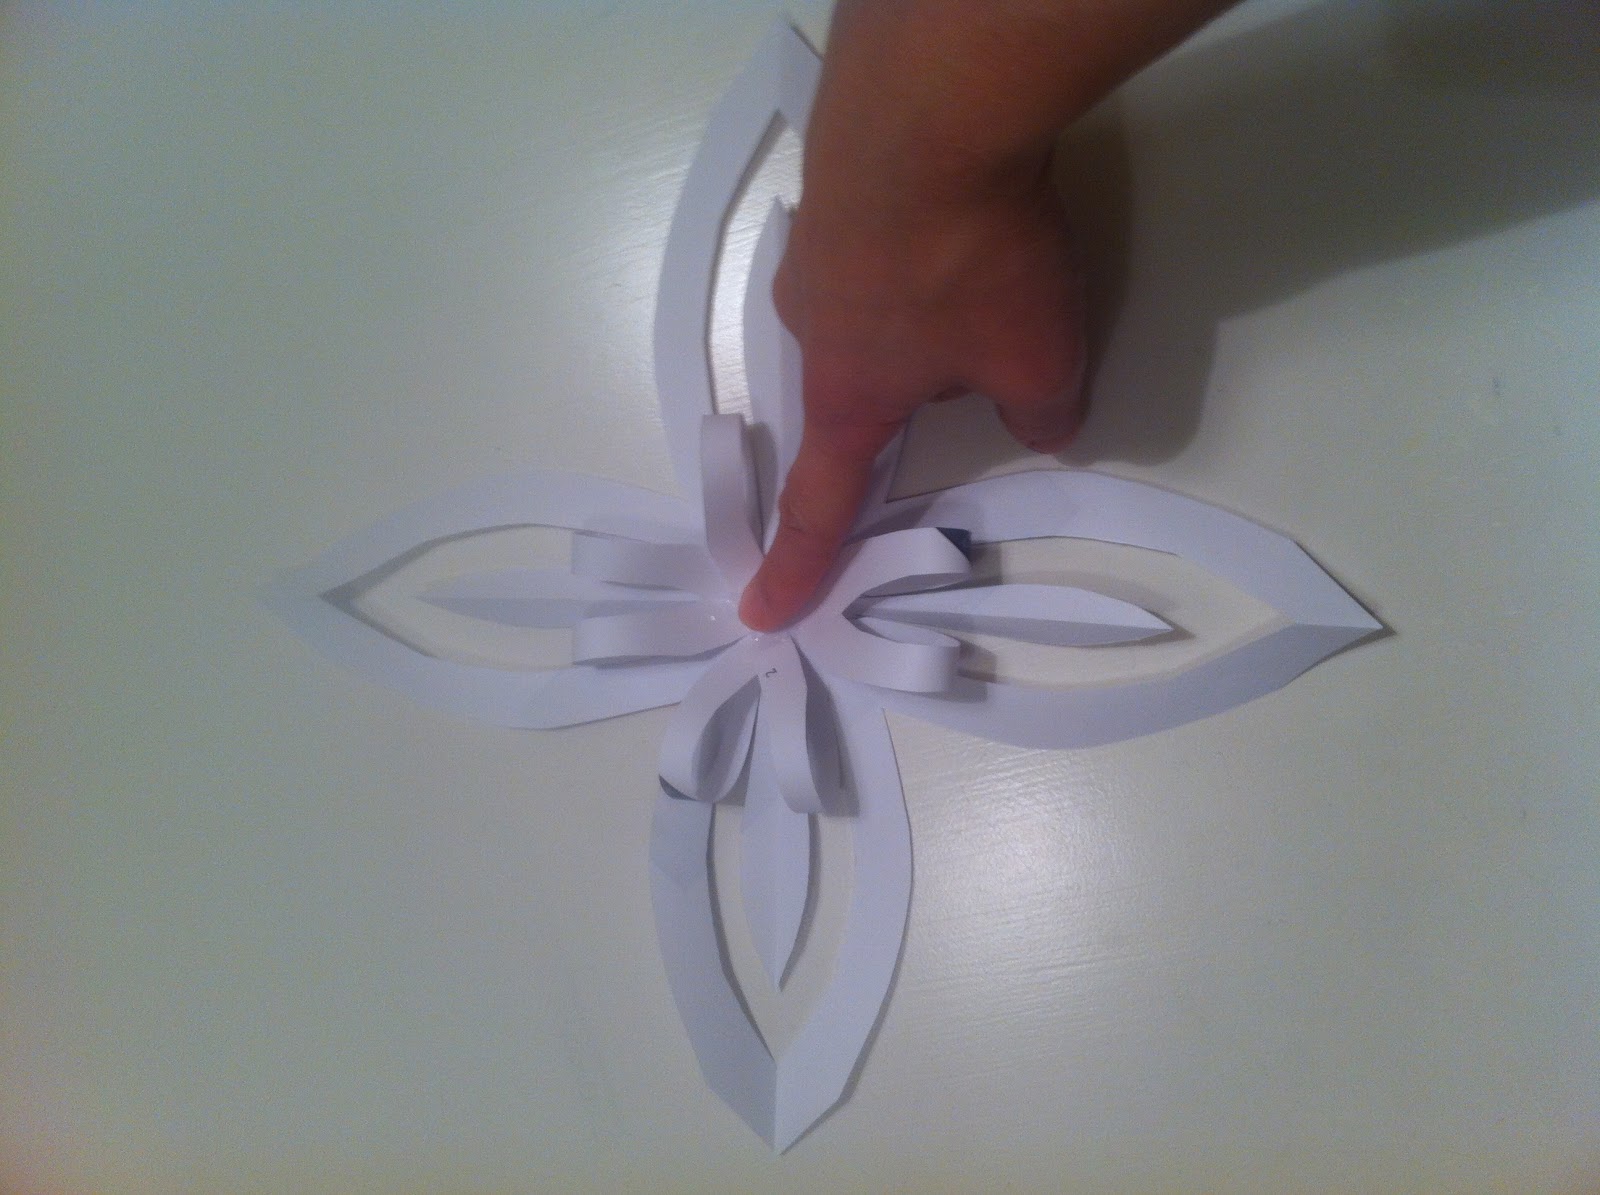
5. Fold it completely open.

6. Glue the middle parts of the leaves to the middle of the figure.
7. Take another piece of paper to make another figure of the same. Don't bother if they are not exactly the same, because some imperfection makes it even more beautiful!

8. Put the first figure on top of the second figure, and glue them together in the middle.

9. Now take the middle parts of the leaves of the bottom figure and glue them on the top figure towards the middle (see pictures).


Done! Now I have two figures, I put them on the wall using masking tape, and it looks so nice!!
